
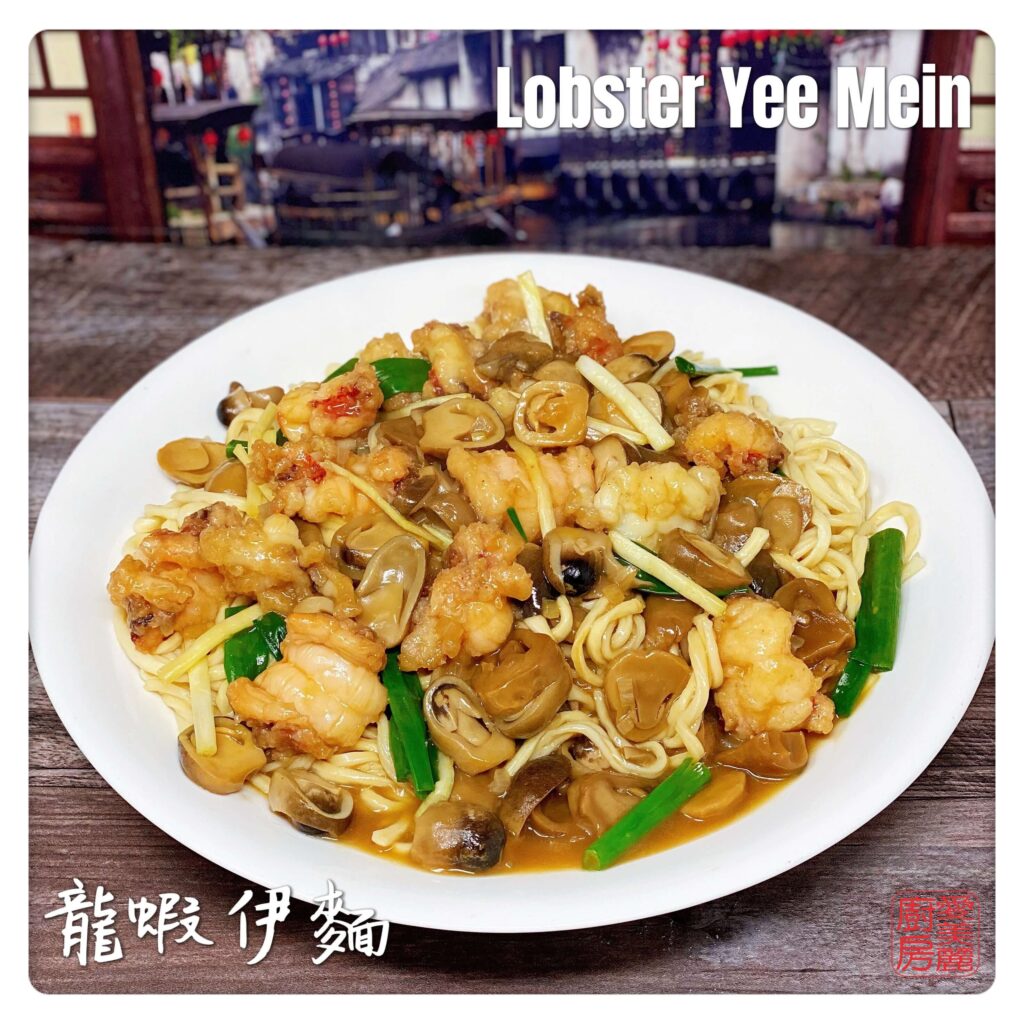


Lobster Yee Mein 龍蝦伊麵 (Cantonese: long ha yee meen) is a classic Cantonese banquet dish. I remember when I was in Hong Kong as a kid, my parents would take me to birthday or wedding banquets. Guests would arrive at the restaurant early to partake in majong rounds prior to dinner. Dinner would usually be served quite late, sometimes 8-9 pm. There would always be a joke that during majong, guests would get hungry and since the hosts would pick up any tabs, guests could order anything, including Lobster Yee Mein 龍蝦伊麵. I always wondered if guests actually did that and if the hosts would have to pick up the bill.
On that thought, I have to include this little piece of nostalgia…Sam Hui was one of my favourite Hong Kong singers when I was a kid. I actually still listen to his songs sometimes. He has a really old song called “點解要擺酒?”. Meaning “why have a wedding banquet?”. The song is about how banquets result in debt and money issues for newly weds. It’s quite humorous but true. So, unless the host is wealthy or you don’t like them, don’t order Lobster Yee Mein 龍蝦伊麵! I believe nowadays, if you do order food prior to the banquet dinner, the restaurant will issue you a separate bill after the majong segment ends.
Let’s look a bit at Yee Mein. They're long, don't easily break and are a symbol of longevity. It's one of the most auspicious noodles and you can find them at birthday and wedding banquets. The Yee Mein is also a good choice for incorporating into Chinese New Year dishes. They’re basically egg noodles that have been deep-fried. They have a unique spongey texture that is perfect for absorbing soup and sauces. They’re not sticky so they’re easy to use in various cooking applications.
A chef, during the Qing Dynasty made the Yee Mein by accident! A chef working for a prominent family with the last name Yee mistakenly put the noodles into a pot of oil instead of water during a birthday banquet. The noodles turned out hard and inedible, but they didn’t have any other noodles to remake it. So they decided to braise it in chicken soup and added other seafood ingredients. The guests all loved it! Thereafter, yee mein was used to make the earliest instant noodles.
My Lobster Yee Mein 龍蝦伊麵 recipe will show you how to make this banquet dish in less than an hour using frozen lobster tails. I’m a wimp when it comes to killing live seafood. I know it’s hypocritical since someone has to kill them for me, but I find it very difficult. I don’t know if any of you are like me, but if you are, frozen lobster tails are pretty good, cheaper too! Having said that, this recipe works for fresh lobsters as well!
For more recipes to make on special occassions, check out my Chinese New Year recipe section.

Lobster Yee Mein 龍蝦伊麵
Ingredients
- 900 g Lobster , frozen tails
- ½ tsp White pepper powder
- 2 Shallots chopped
- 3 slices Ginger ; sliced, chopped, medallions
- 2 stalks Green onions 4cm pieces
- 8 oz Yee mein aka yi mian (they come usually come in 8 oz packages)
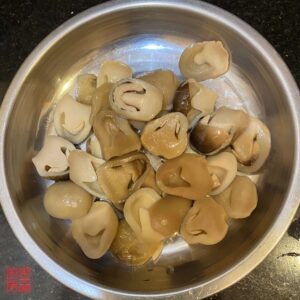
- 12 Straw mushrooms (approx. ½ can)
- 6 sprigs Yellow chives (optional)
- ¼ tsp Salt
- 2 cups Chicken broth
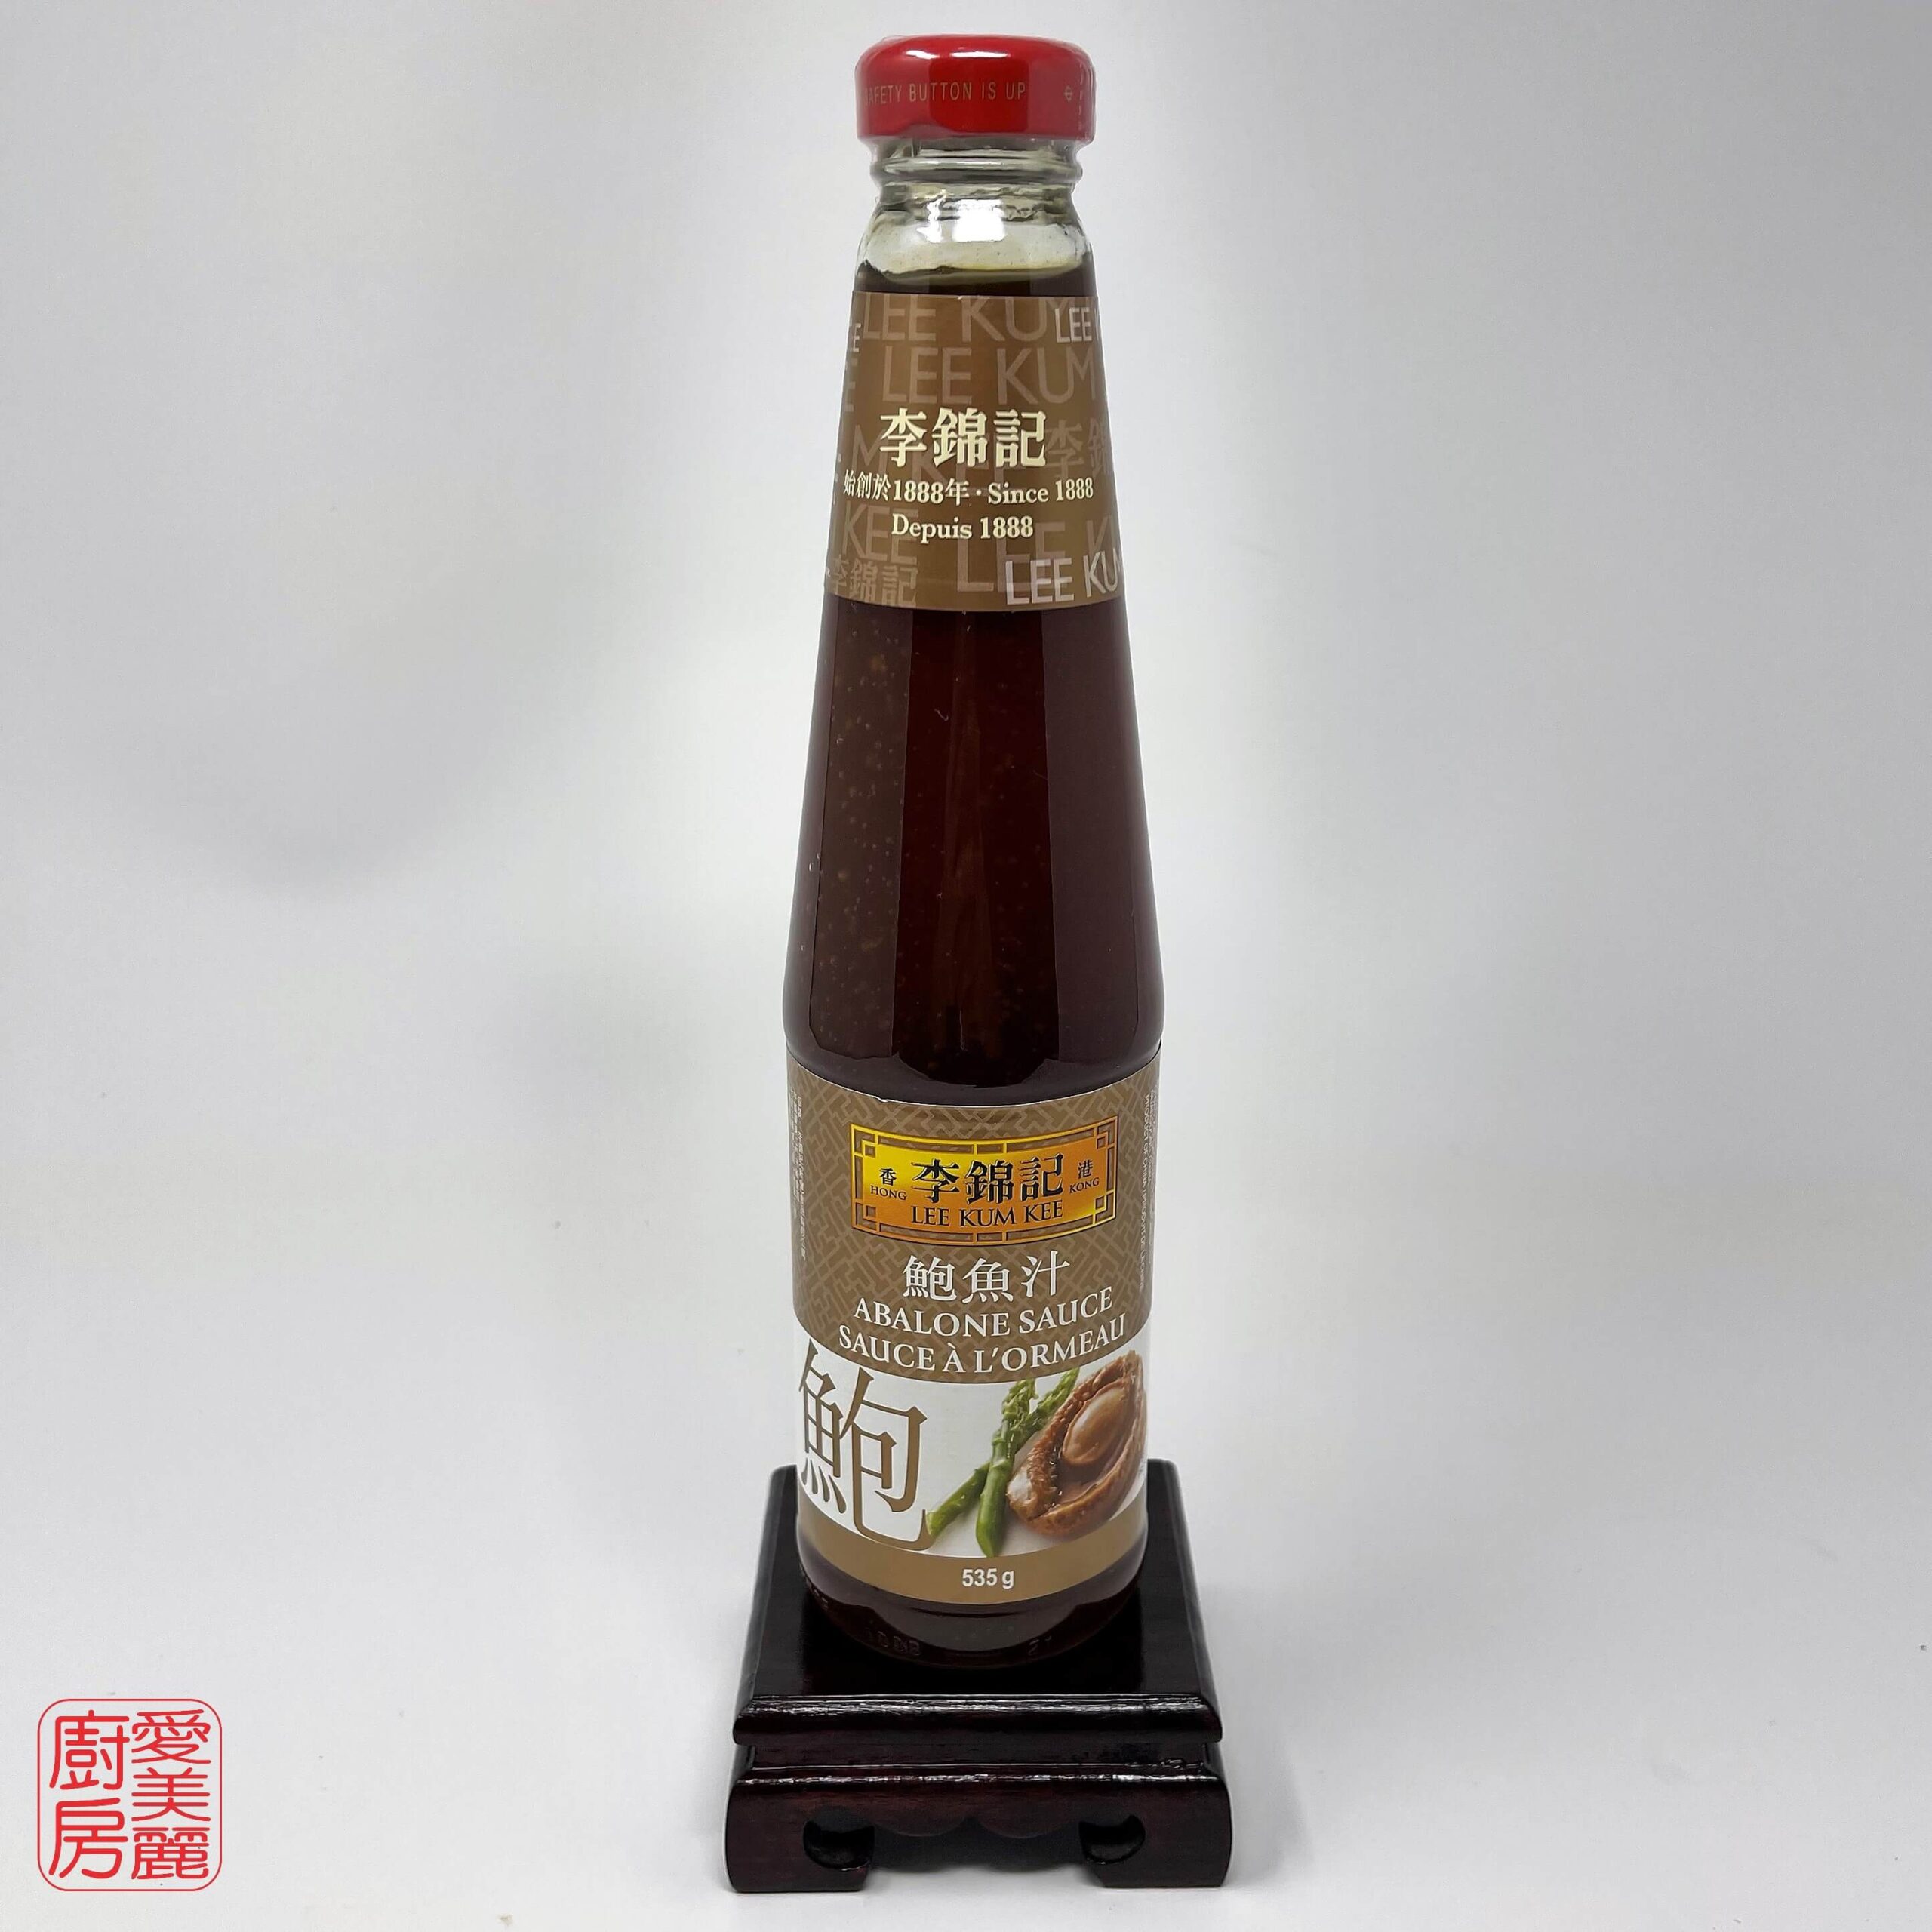
- 2 tbsp Abalone sauce or oyster sauce
- 1 tbsp Light soy sauce
- ½ tsp Sugar
- 1 tsp Fish sauce
- 1 tsp Shaoxing wine
- 3 tbsp Corn starch
- 1 ½ tbsp Corn starch for slurry
- 2 tbsp Water for slurry
- 3 tbsp Oil
- 500 ml Oil for deep frying
Instructions
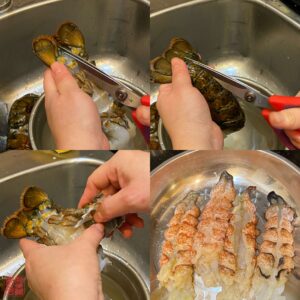
- Rinse lobster with water

- To remove shell: using kitchen shears, cut the shell vertically on the underside of the lobster, all the way to the tail. Do the same cut to the top side of the shell. Gently pull the 2 sides of the shell apart to remove the flesh.
You may need to cut a bit more of the tail part to be able to pull out the little pieces of meat in the tail. Keeping shell on: use kitchen shears to cut the shell and then either with kitchen shears or a knife, cut the flesh. This will help keep edges straight and clean. - Cut into 2 vertical halves and remove any impurities. Then cut into approx. 4 cm pieces
- Dry in a colander or pat dry with paper towels.
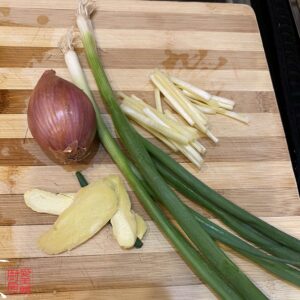
Should be fairly dry to prevent oil splatter and quick browning - Chop 2 shallots, prepare ginger, green onions and yellow chives
- Slice each straw mushrooms into to 2-3 pieces
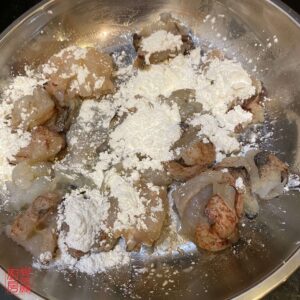
- Sprinkle ½ tsp of white pepper powder on to lobster and mix well
- Use approx. 3 tbsp of corn starch to coat lobster. Toss lobster with corn starch to ensure that coating is even.
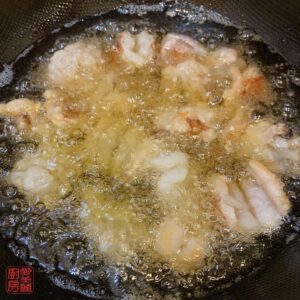
Each piece of lobster should be completely covered by corn starch. (Photo doesn’t depict corn starch covering lobster evenly. It has not yet been tossed together.) - Heat 500 ml oil to 175˚C or 350˚F.
- Place lobster into the oil. Do not overcrowd to prevent bringing down the temperature by too much. This will cause longer cooking time and overcooked meat. Fry in small batches if necessary. Cook for approx. 2 minutes or until they turn slightly brown.
- Remove lobster from oil and let it rest on cooling rack. Give each piece some room to prevent steam from softening the corn starch crust
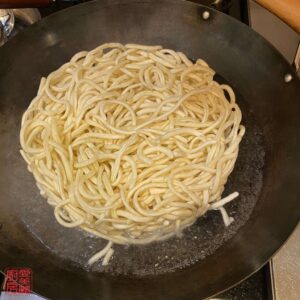
- Boil a pot of water to cook the yee mein.
- Place the yee mein in the water when it boils. Cook for approx. 2-3 minutes until the yee mein separates and softens slightly. We will still braise the yee mein so they don’t need to be completely cooked
- Remove the yee mein, rinse with water and let drain in a colander
- In a pot or pan, add 250 ml chicken stock, ¼ tsp salt (do not add if your broth already has salt) and 1 tbsp abalone sauce. Bring to a boil. Add yee mein. Mix well and turn heat down to medium low. Let it braise for approx. 10 minutes or until yee mein is soft and ready to eat and the broth is absorbed. Start on next step as yee mein is braising.
Many recipes don’t call for braising the yee mein separately. So, you may just boil them until soft and just pour the lobster and sauce on top. However, braising it separately makes the whole dish so much better, in my opinion - Heat wok or pan to medium high heat. Add 3 tbsp oil
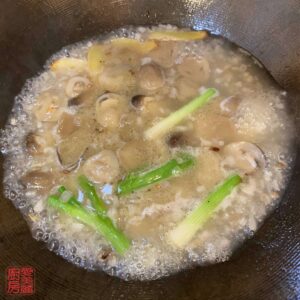
- Add ginger, shallots and white parts of green onions. Fry until aromatic
- Add straw mushrooms and 1 tsp Shaoxing wine
- Add 1 tbsp abalone sauce, 1 tbsp light soy sauce, ½ tsp sugar and 1 tsp fish sauce
- Add 250ml chicken broth and bring to a boil
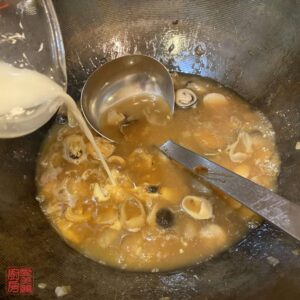
- Prepare slurry with 1 ½ tsp corn starch and 2 tbsp water. Mix well
- Taste test and make adjustments if necessary
- Pour mixed slurry slowly and stir until sauce thickens
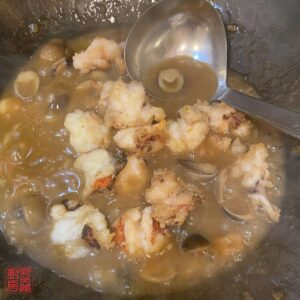
- Add lobster. Stir until lobster is coated with the sauce
- Cover with lid for approx. 3 minutes until sauce is boiling and lobster is hot
- Add the green parts of the green onions and yellow chives and mix well with the lobster
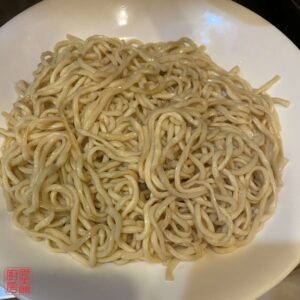
- Spread the yee mein out on the bottom of a serving plate
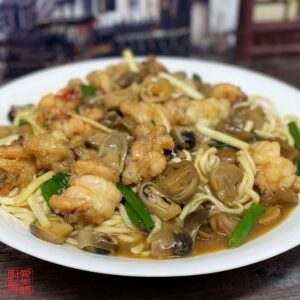
- Cover the yee mein with the lobster and sauce
- Serve


Leave a Reply