


Pork and Yu Choy Stir-Fry 菜心炒肉片 (Cantonese: choy sum chow yoke peen) is probably the most iconic Cantonese comfort food for me. Most people who grew up in a Cantonese family will definitely be familiar with this dish. It’s not a fancy dish, but it’s got meat that kids like and vegetables that parents like. The light sauce that’s leftover on the plate when all the meat and veggies are gone is enough to coat a second bowl of rice. So satisfying! It’s the taste of home!
As I said, it’s not fancy and is really quite simple. Most people who like Chinese food have probably made this dish. In my Pork and Yu Choy Stir-Fry 菜心炒肉片 recipe, I want to focus on the details that can make this simple dish even better. Of course, the yu choy has to be fresh. I like to use baby yu choy which is more tender than the mature longer ones. They’re also more leafy. If you like the meaty parts or stem more, than the mature ones are the way to go.
The pork should be velvety soft and tender without any after-taste. I don’t use baking soda to soak the pork because it leaves an after-taste that I don’t like. Unfortunately for me, most restaurants use this technique to velvet the meats to save time and money. So I like to make this dish the old fashion way when baking soda wasn’t used.
I’ll show you in my Pork and Yu Choy Stir-Fry 菜心炒肉片 recipe, how to make this dish the old fashioned way. I include lots of tips for success the first time around. At first glance, you’ll see a lot of steps, but I give a lot of detail so that you’ll get soft, tender and aromatic pieces of pork with vegetables that are crisp and can keep their vibrant green colour. The sauce is subtle and just thick enough to coat the dish with some additional to put over rice.
I often get questions like why does the meat have to get removed from the wok before cooking the vegetables? Or why are there so many steps? Perfection is in the details! The details make something good into really good. But sometimes, or often times, busy schedules force us to skip steps. This recipe, however, is for when you have a bit of extra time and want to bring it up a notch.
Make this Pork and Yu Choy Stir-Fry 菜心炒肉片 dish for your parents and see if it can top what they made you when you were a kid! Beat that Mom! Just kidding….there’s no beating the flavour of motherly love (or fatherly love)!
Love veggies? Try my Dry-Fried Green Beans 乾煸四季豆 or Easy Cauliflower and Pork Jowls Stir-Fry 菜花炒豬頸肉.

Pork and Yu Choy Stir-Fry 菜心炒肉片
Ingredients
- 500 g Yu choy aka choy sum
- 400 g Pork butt , sliced to 3mm thick
- 3 cloves Garlic , chopped
- 3 slices Ginger
- 1 tsp Corn starch
- 2 tsp Oyster sauce
- ½ tsp Sugar
- 90 ml Water 6 tbsp
- 3 tbsp Oil
- 1 tsp Salt for soaking pork
Ingredients for marinade:
- 20 g Water (5% weight of meat)
- 1 tsp Light soy sauce
- ½ tsp Sugar
- 1/8 tsp White pepper powder
- 2 tsp Corn starch
- 1 tsp Shaoxing wine
- ¼ tsp Salt
- 2 tsp Oil
Instructions
- Slice pork approx. 3mm thick and place in a mixing bowl

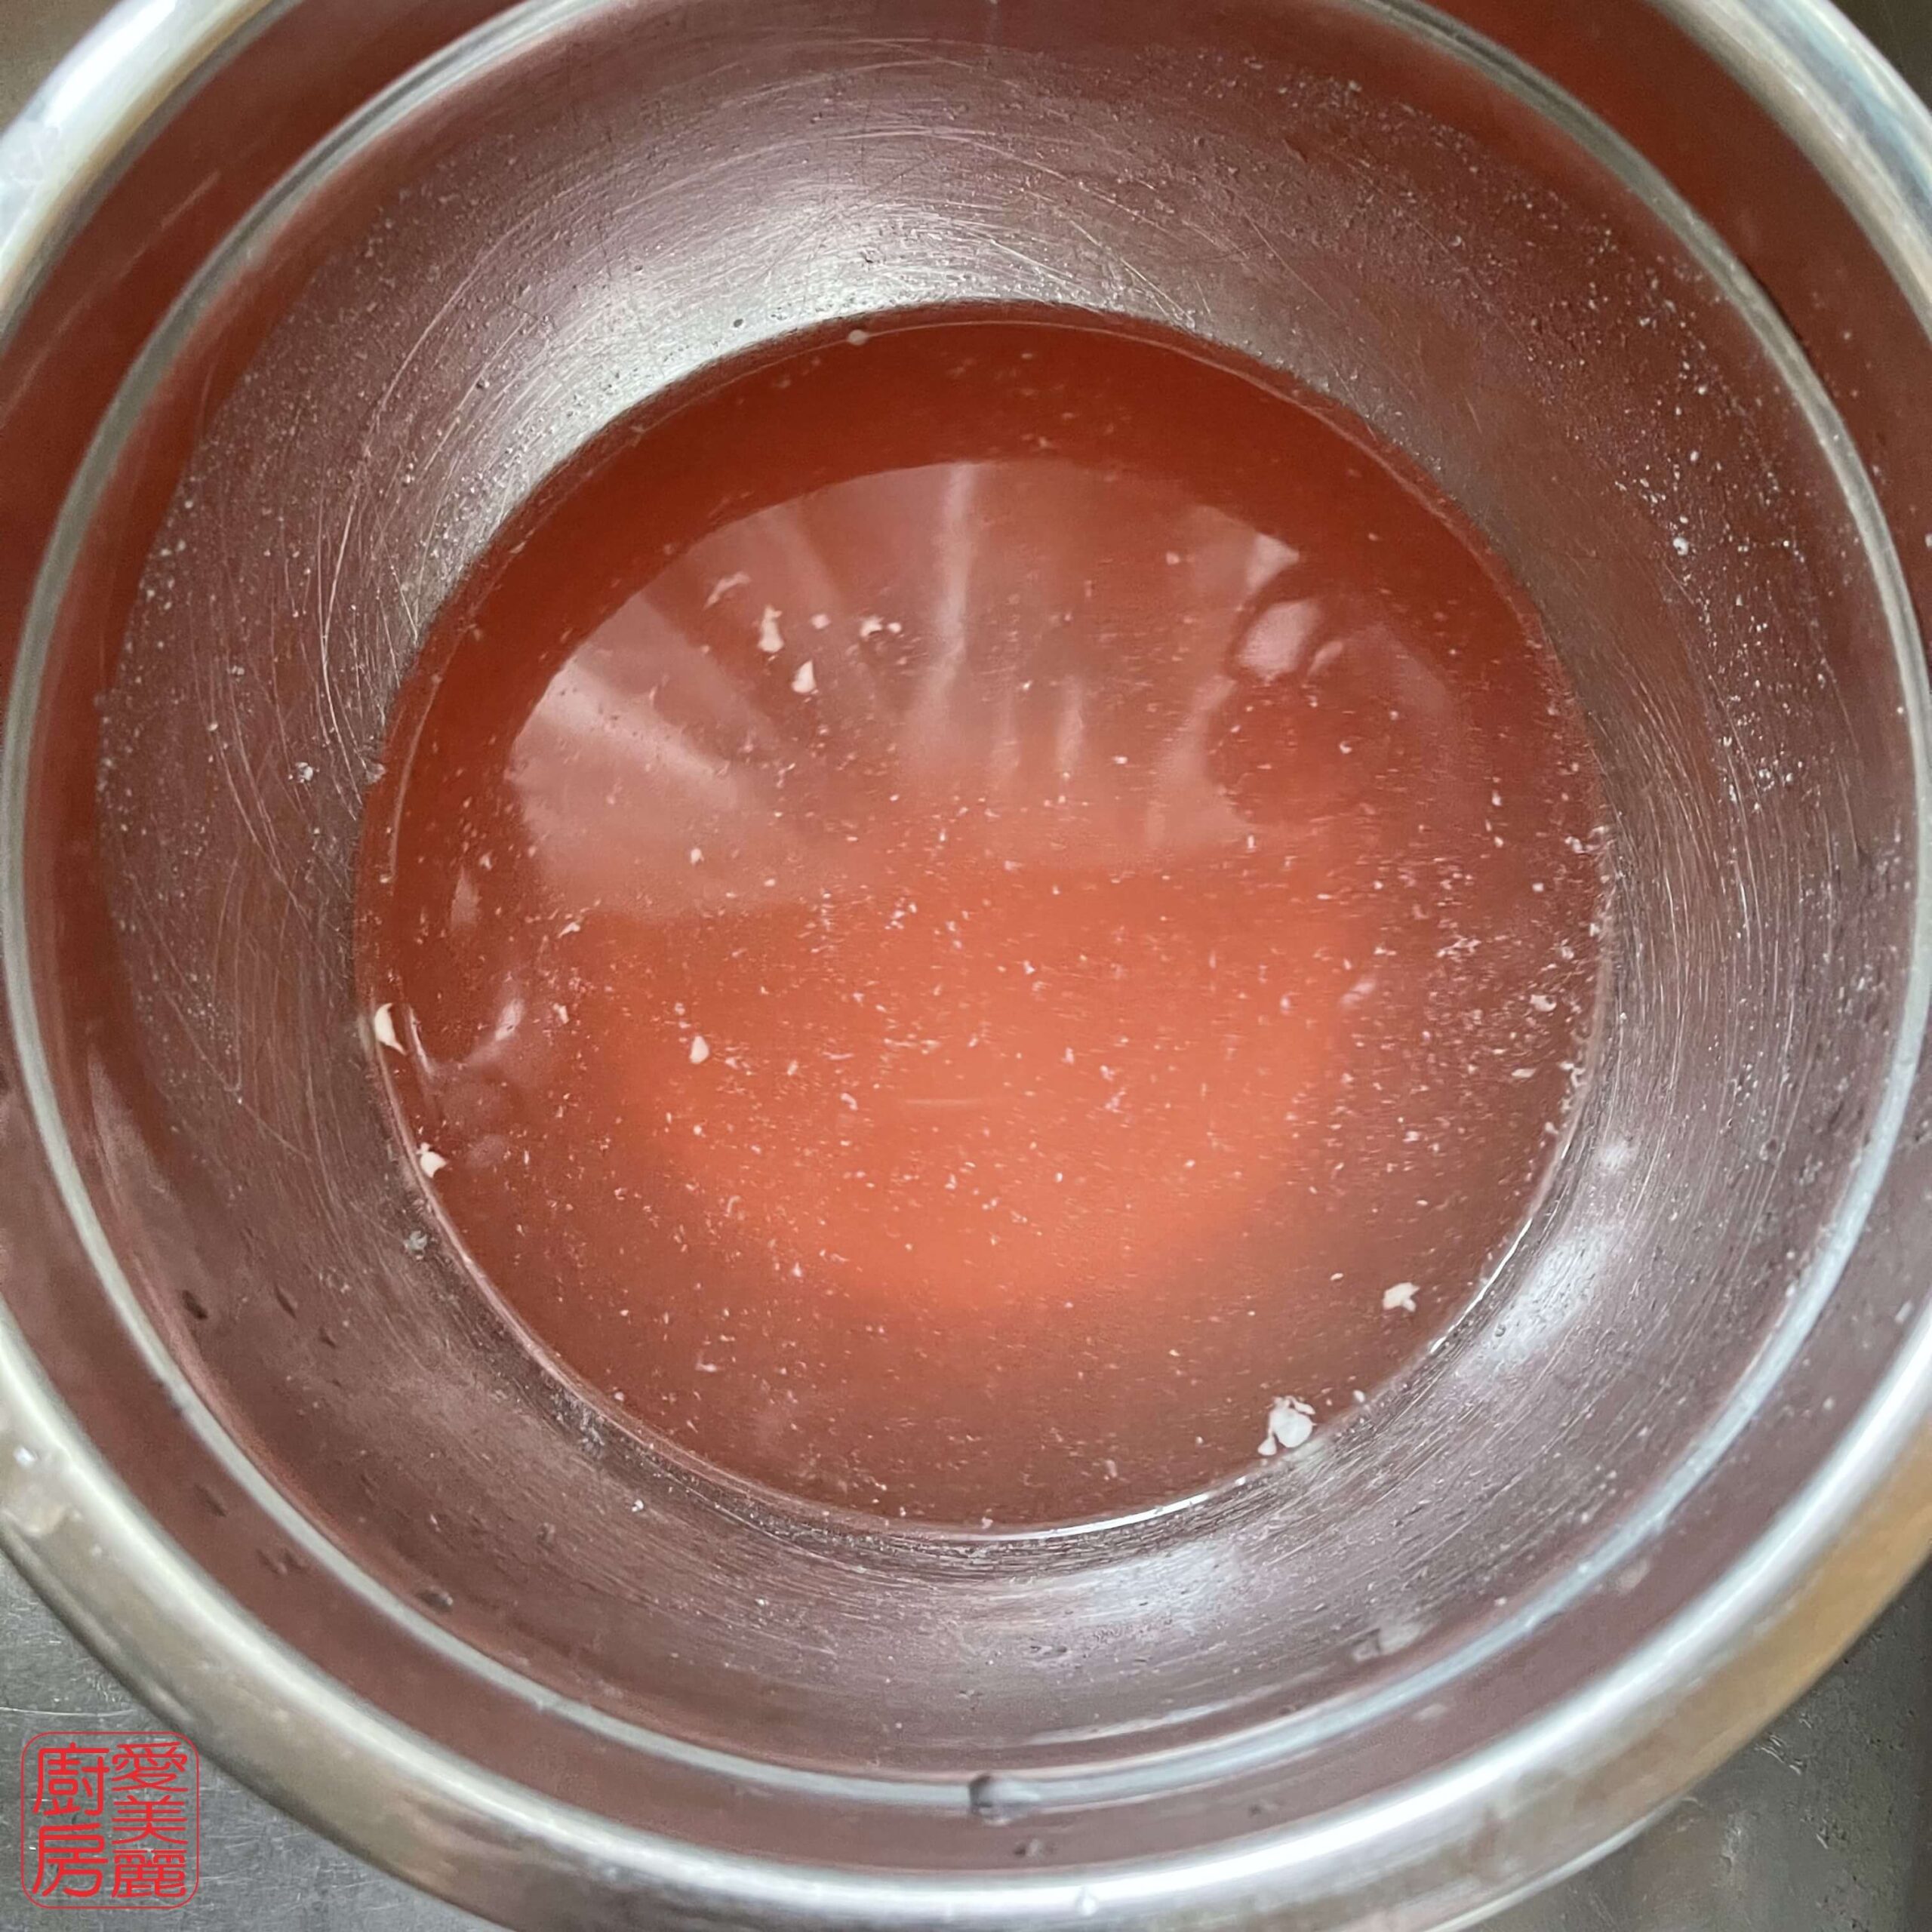
- Cover the pork with water and add 1 tsp salt. Let soak for 30 minutes
This step helps rid the pork from any odours and excess blood still in the meat. It’ll result in the meat being more tender and will absorb the marinade better (here's how the water turns out) - Rinse the pork with running water for 1 minute
The purpose of this step is the same as step 2 - Drain water, squeeze water out of the meat with your hands and dry with paper towel
the drier the meat, the more marinade it can absorb - Marinate the pork with 1 tsp light soy sauce, ½ tsp sugar, 1/8 tsp white pepper powder, 2 tsp corn starch, 1 tsp Shaoxing wine, ¼ tsp salt and 20g water (=20ml or 4 tsp)
I usually add water equivalent to approx. 5% of the meat. Some people add more but this amount will give you a soft texture without being hard to handle or creating a puddle of water when you fry the meat - Mix the pork with the marinade thoroughly by squeezing the pork with your hands. Do this for approx. 2 minutes and until you don’t see any residual water in the bowl
- Add 1 tsp of oil and mix well. Marinate pork for 30 minutes to an hour.
Just before frying, the other 1 tsp of oil will be added so that your pork doesn’t clump together when you put it in the wok - Chop garlic and prepare ginger
Garlic and ginger can be sliced or chopped - Wash yu choy, trim and remove yellow flowers, if any.
I used baby yu choy which usually doesn’t have any flowers on them, but more mature yu choy will usually have them. The flowers are removed because it’s a favourable location for bugs to nest and it also doesn’t look nice when the yellow flowers break apart and go all over the dish. For thick stems, you want to remove the outer skin for a more tender texture - Cut the yu choy to your desired size.
Mine were baby ones, so I kept it whole. Keep the yu choy dry by letting it drain in a colander or place on a clean towel. The drier they are, the faster they’ll cook in the wok and the crisper they’ll be - Prepare slurry in a bowl with 2 tsp oyster sauce, 1 tsp corn starch, ½ tsp sugar and 90ml water. Mix well and set aside
- Heat wok to high and let it heat up to at least 230˚C or 450˚F
If the wok is not hot enough, the water from the pork will come out which will result in poaching the pork instead of stir-frying - Add an additional 1 tsp of oil to the pork and mix well. Loosen the pork
- Add 2 tbsp of oil into the wok and add pork. Arrange into single layer and let cook for 30 seconds to 1 minute until browned
- Flip over and fry for another 30 seconds until browned and remove from wok
Keep flipping the pieces that look pink until you get a sear on both sides - Let the wok heat back up, add another 1 tbsp of oil into the wok and add ginger. Fry ginger until toasty
- Add yu choy and stir fry for 30 seconds
- Add garlic
garlic is added with the vegetables to prevent them from burning and making the dish bitter - Stir-fry until the leaves look slightly wilted which may be approx. 2-3 minutes. Do not cover with lid as it may cause the vegetables to turn a dull colour
- Add pork back into the wok and fry until pork is completely cooked, approx. 1-2 minutes
- Stir the slurry and pour it slowly around the wok while mixing it into the dish with a spatula
- Stir-fry until the slurry has thickened into a sauce. Taste test and make adjustments if necessary
- Serve


Thank you for the very technical instructions.
Hi Dana, You're welcome! Hopefully it came out well for you. Happy cooking!
Soooo good! I didn't buy enough choy sum and I had to double the recipe because I have a big family but it turned out excellent! Thank you for the recipe!!