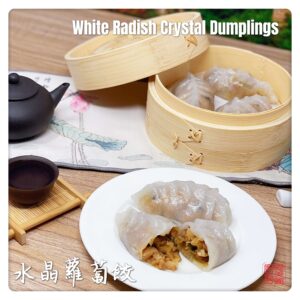
White Radish Crystal Dumplings 水晶蘿蔔餃
I used pork belly but you can use any protein or even no protein.Other ingredients that you may want to consider in the filling are: peanuts, jicama, peas, shrimp, scallops, bamboo shoots, peanuts, cilantro, dried shrimp, black fungus, and even fried sticky rice.If you have left over filling, you can make fried rice with it. Or try adding it to some eggs and frying it like Egg Foo Young? With leftover dough, you can make Silver Needle Noodles.This recipe will make approx. 25 dumplings with 25g skin (dough) and 25g filling.
Approximate cost (CAD) $8
Ingredients
Ingredients for skin:
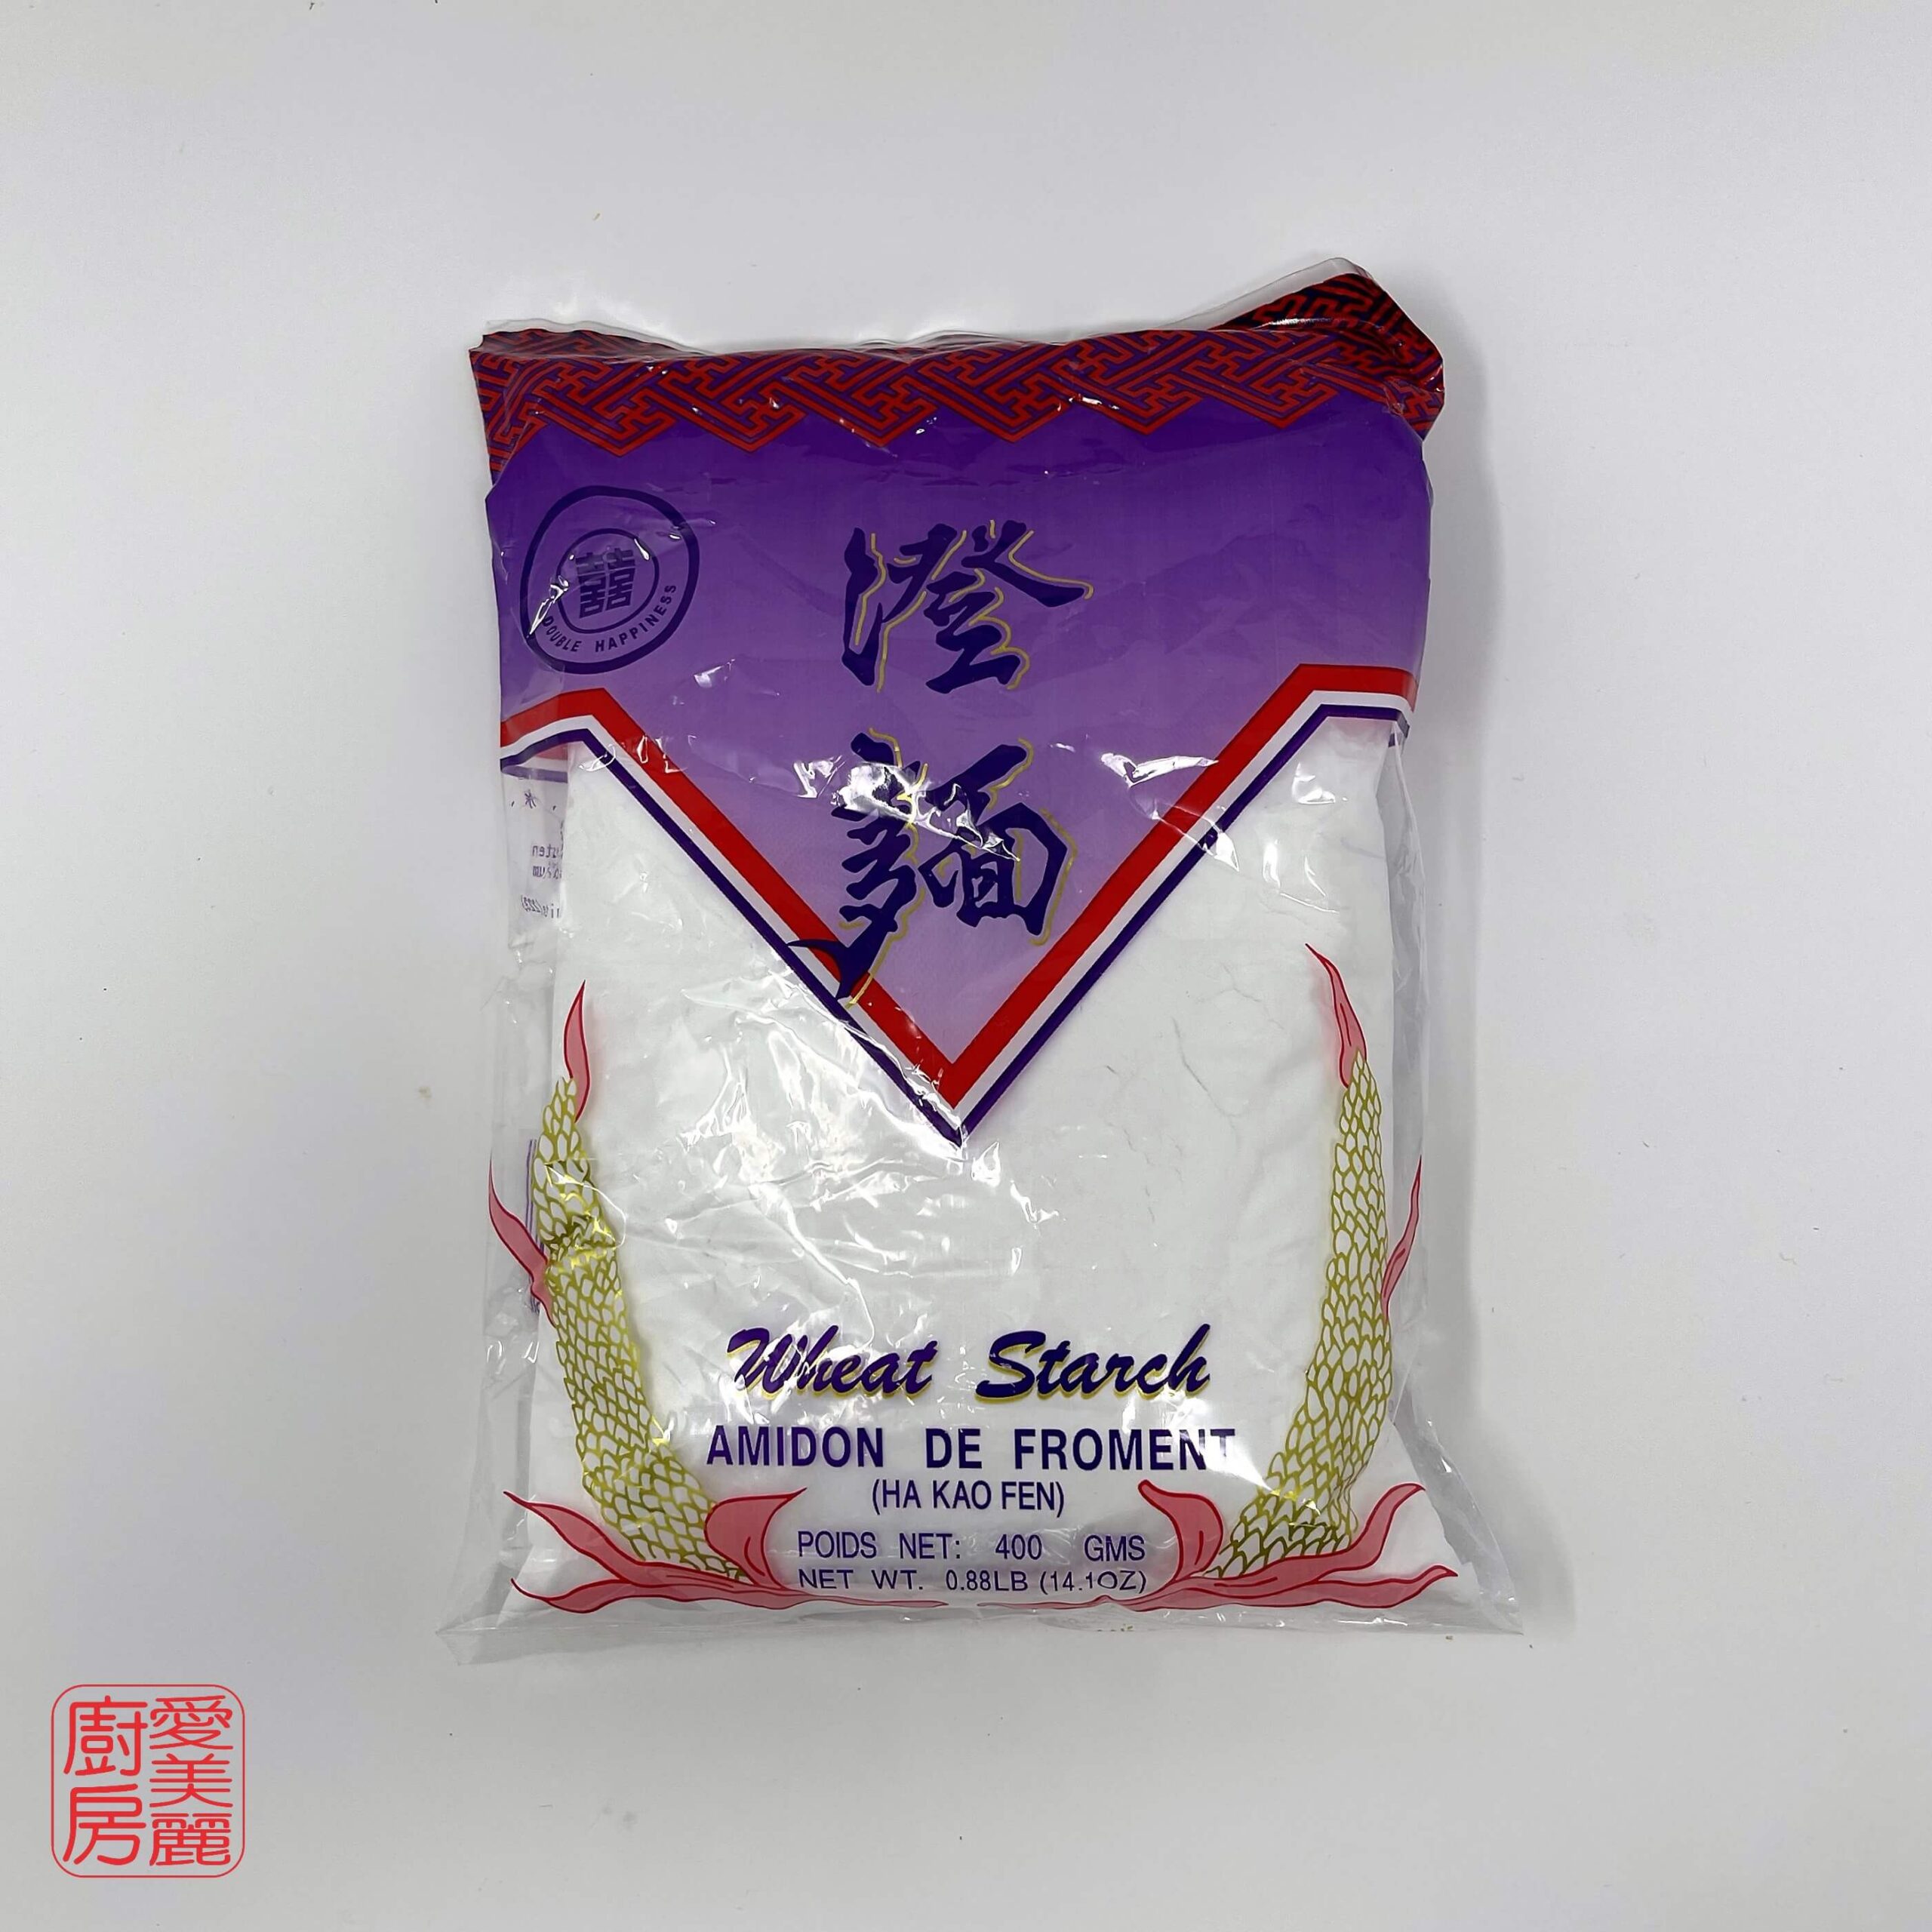
- 120 g Wheat starch
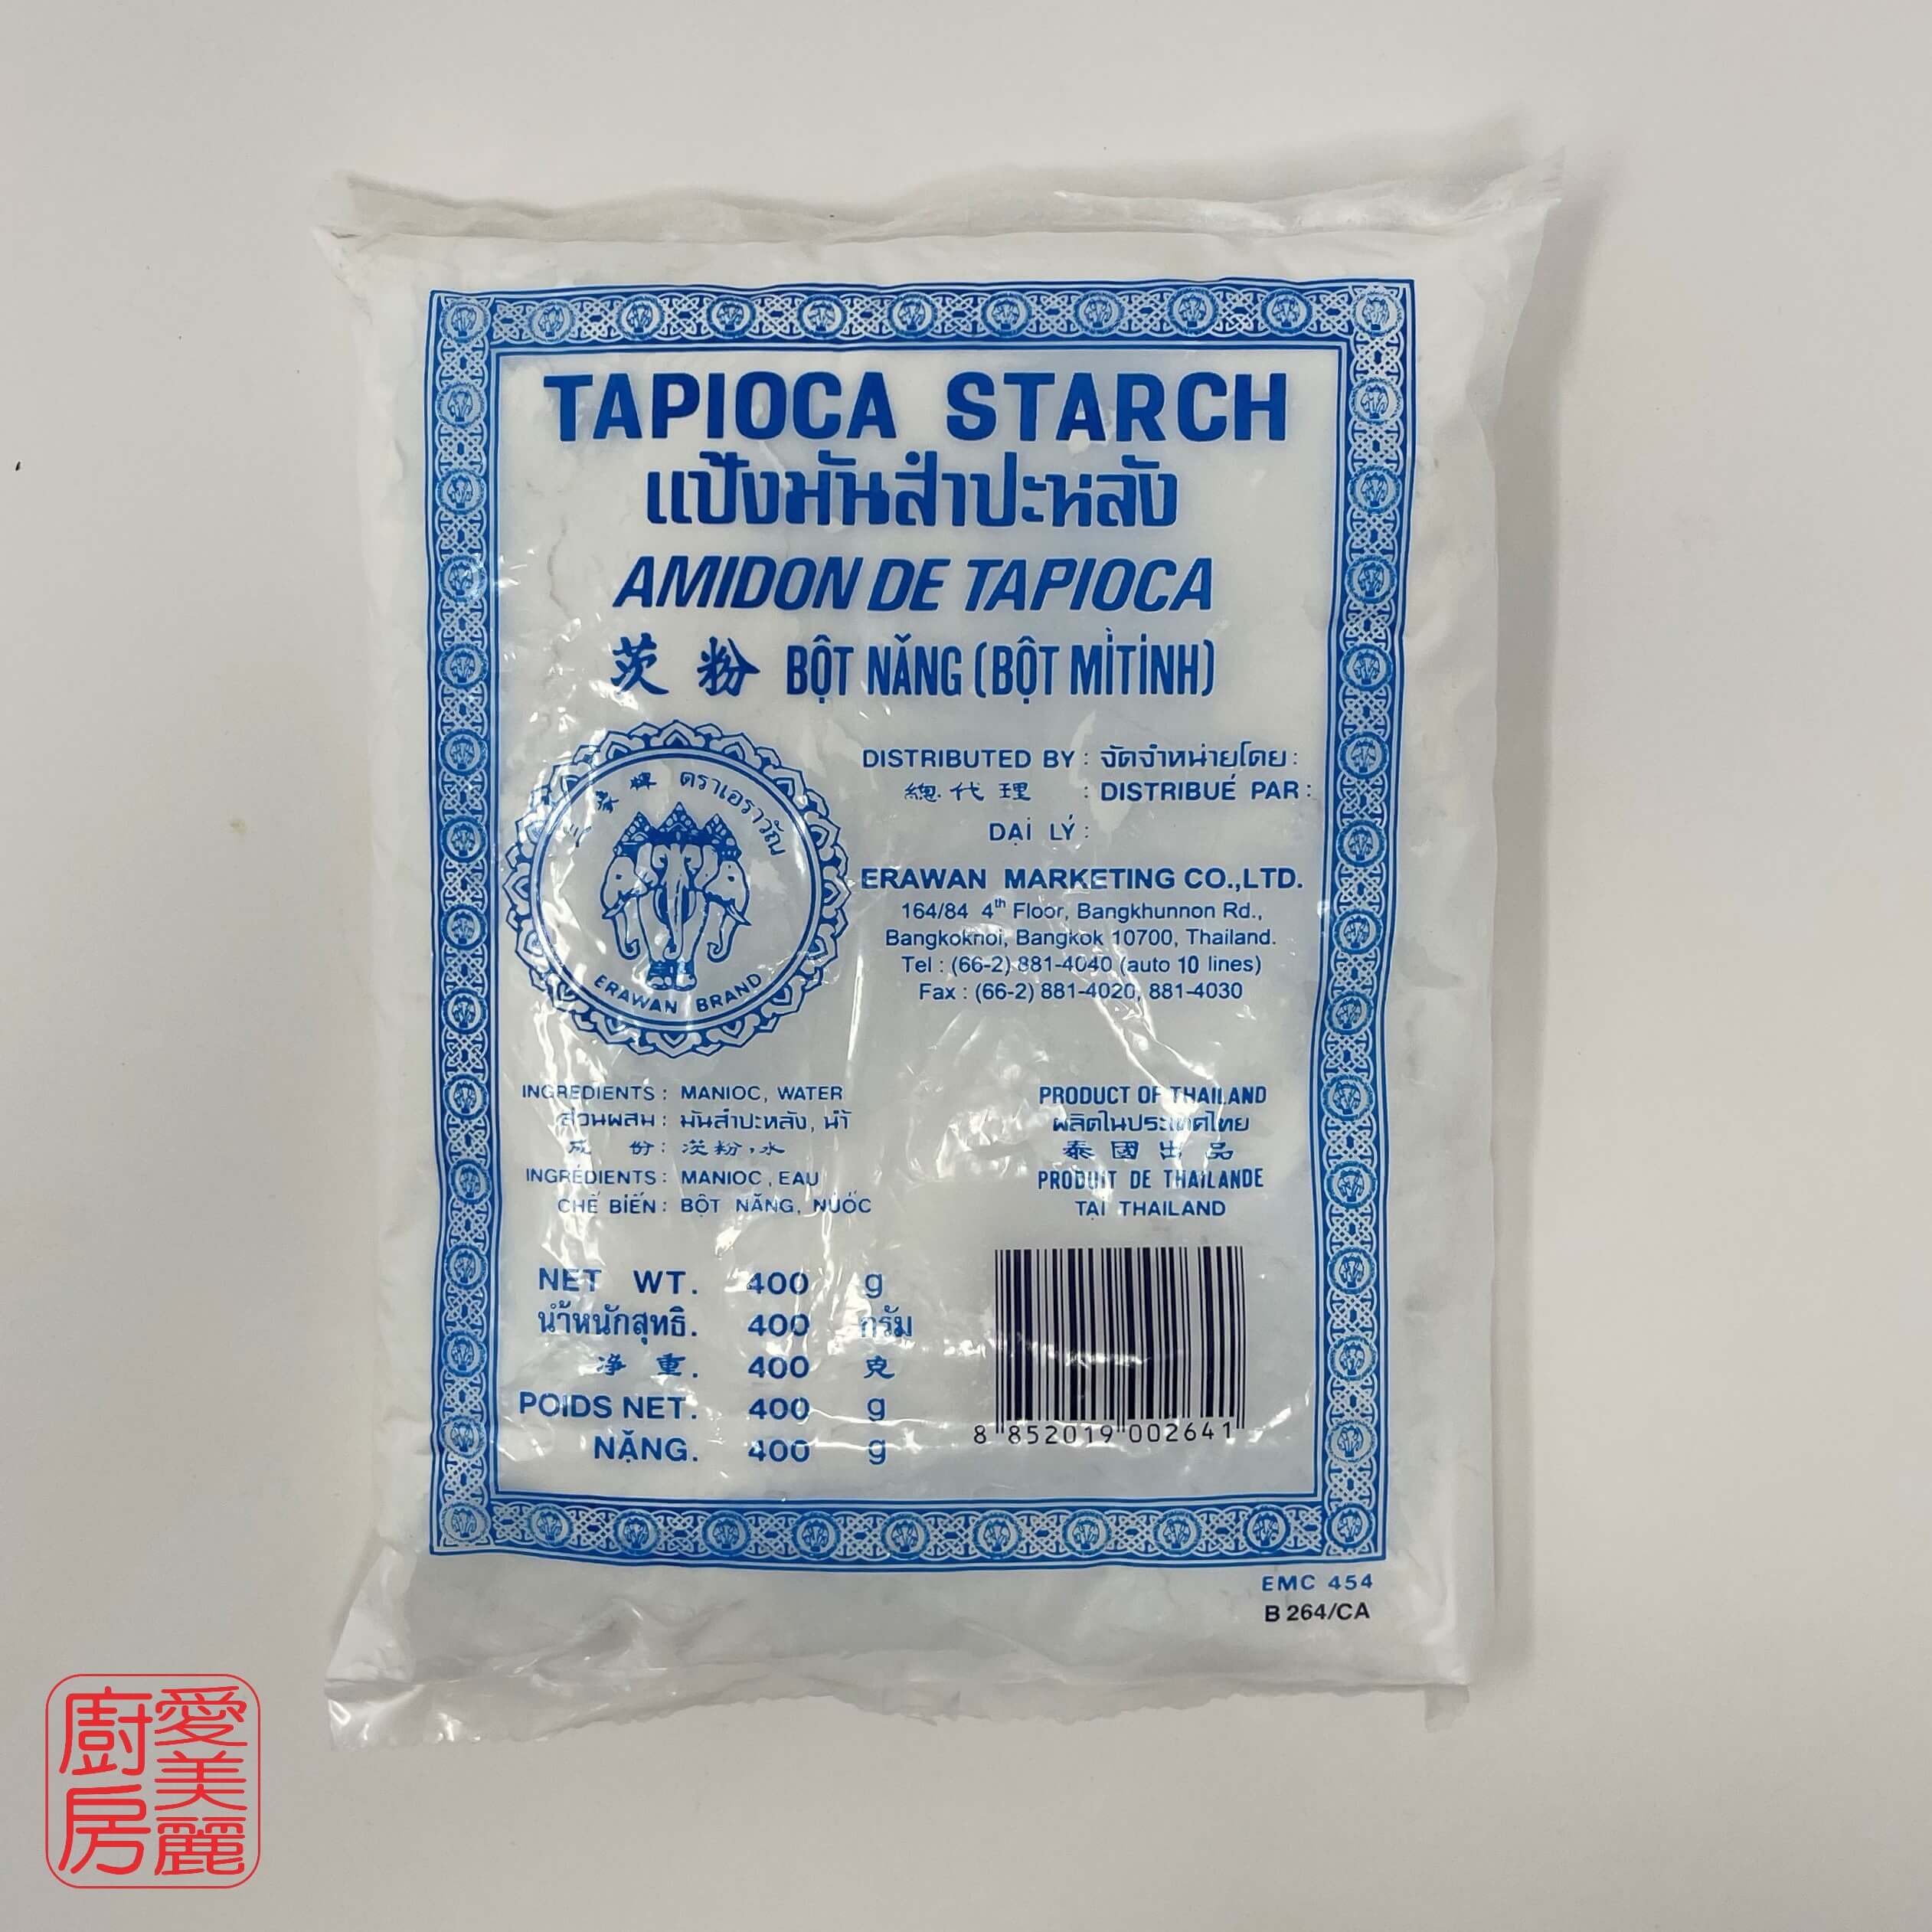
- 120 g Tapioca starch aka cassava starch
- 60 g Corn starch
- 400 g Boiling water (400ml)
- 4 g Salt
- 2 tsp Oil
Ingredients for filling:
- 2 tbsp Shaoxing wine for parboiling
- 3 slices Ginger for parboiling
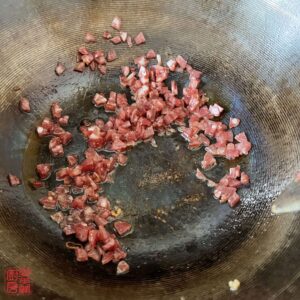
- 200 g Pork , slice into shreds
- 800 g White radish or daikon, grated or julienned
- 75 g Shiitake mushrooms , diced (fresh or dry), approx. 3 large shiitakes
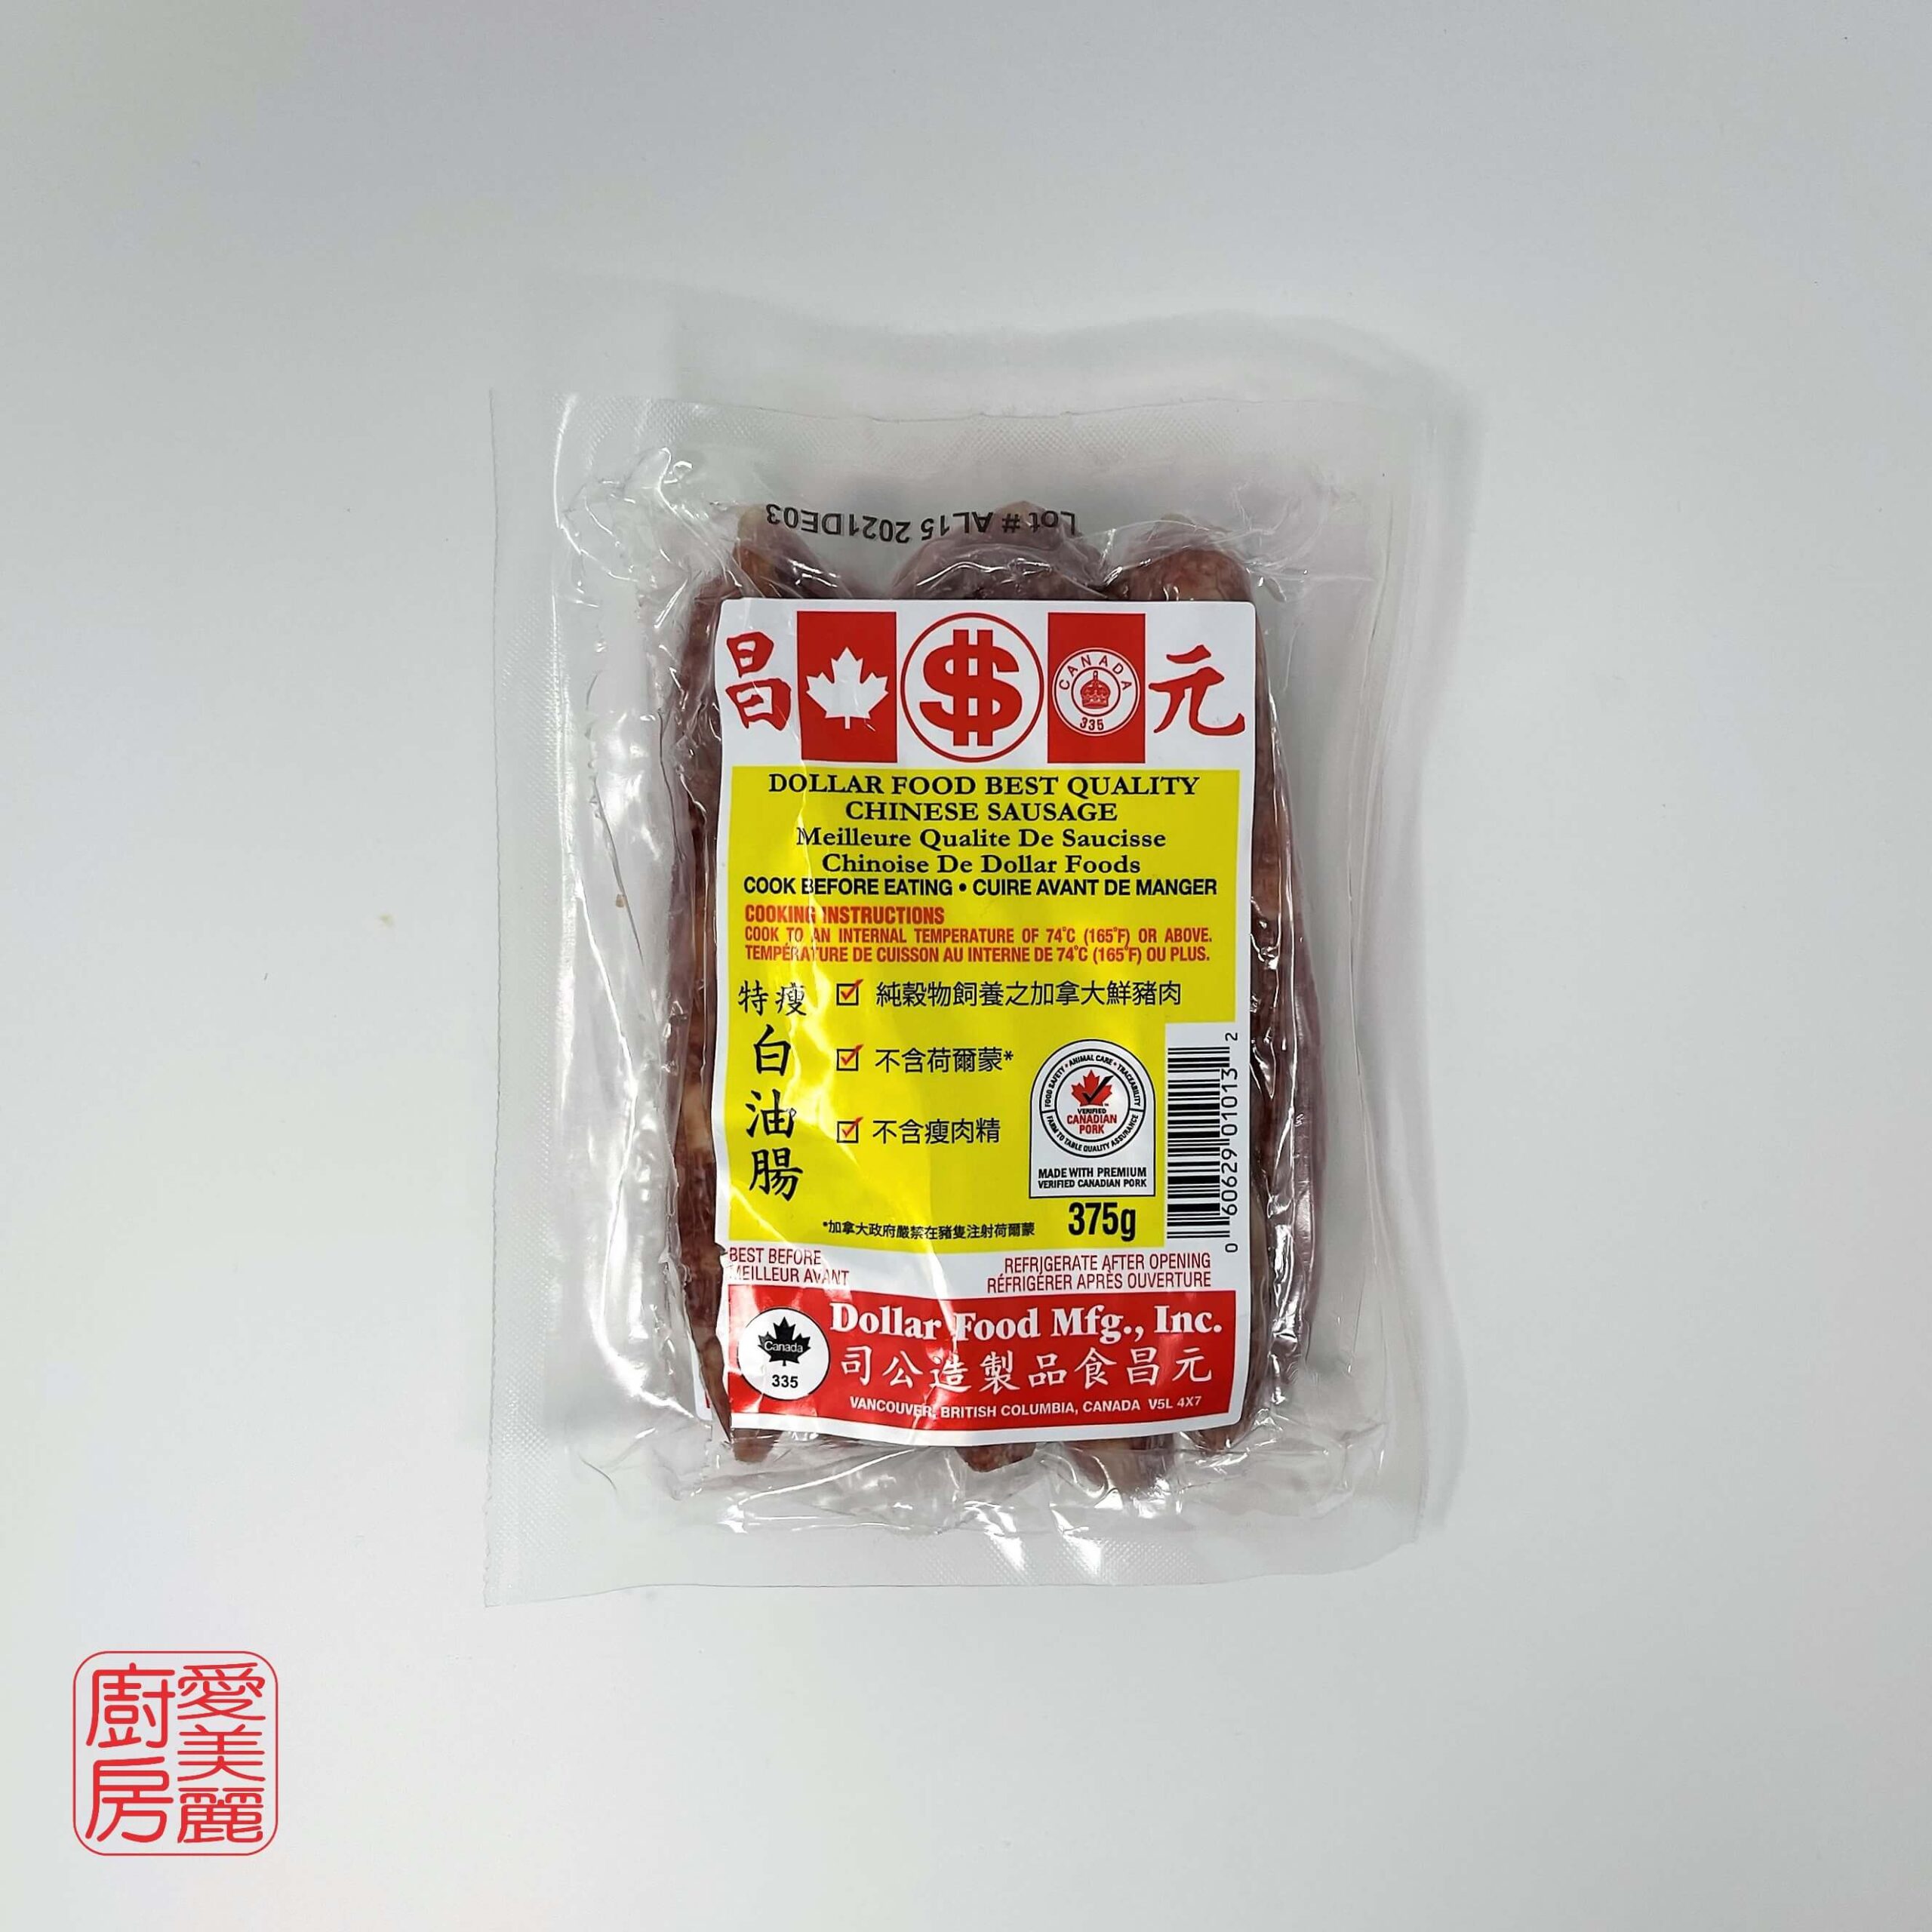
- 2 Chinese sausages , diced
- 3 stalks Green onions , chopped
- 2 tsp Shaoxing wine
- 2 tsp Oyster sauce
- 2 tsp Light soy sauce
- ¼ tsp White pepper powder
- 2 tbsp Oil
Ingredients for pork marinade:
- 1 ½ tsp Light soy sauce
- ½ tsp Sugar
- 1 tsp Corn starch
- 1 tsp Oil
Ingredients for shiitake mushroom marinade (optional):
- ½ tsp Light soy sauce
- ½ tsp Sugar
- ½ tsp Corn starch
- ½ tsp Oil
Instructions
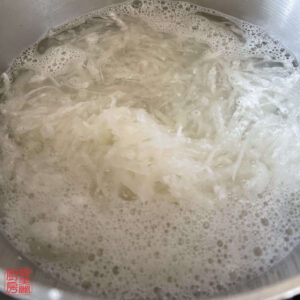
- Grate white radish and bring a pot of water to a boil

- Add 3 slices of ginger and 2 tbsp Shaoxing wine to the water
this helps with getting rid of any bitterness in the white radish - Add white radish when water boils. Cook for 3 minutes, drain and let cool. Set aside
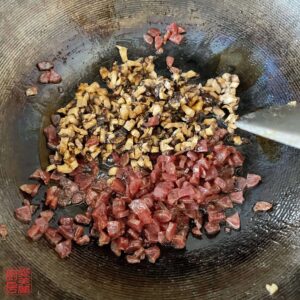
- Slice pork, dice shiitake mushrooms, dice Chinese sausages and chop onions
- Marinate pork with 1 ½ tsp light soy sauce, ½ tsp sugar and 1 tsp corn starch. Mix well and add 1 tsp oil to seal the condiments

- Optional: marinate shiitake mushrooms with ½ tsp light soy sauce, ½ tsp sugar and ½ tsp corn starch. Add ½ tsp oil after mixing

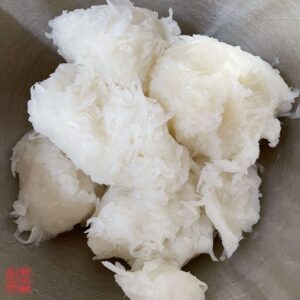
- Once the white radish has cooled, use your hands to squeeze out water
- Using a wok or pan, on high heat, add 1 tbsp oil
- Add pork and arrange in single layer. Cook until it’s slight toasted. Will take approx. 1 minute. Flip the pork over and cook for another minute. Stir-fry until pork is completely cooked. Remove from wok
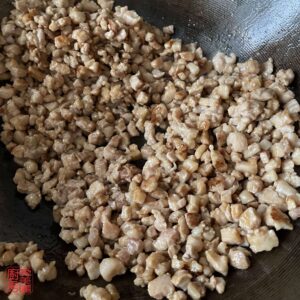
- Add another 1 tbsp oil to the wok. Add Chinese sausage, stir-fry for 30 seconds and push to one side
- Add shiitake mushrooms and stir-fry for 1 minute on its own
- Add green onions and cooked pork. Stir-fry everything together
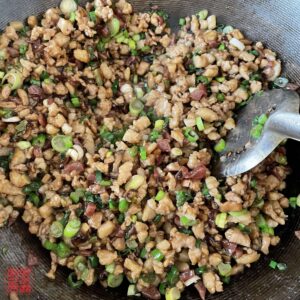
- Add 2 tsp Shaoxing wine directly onto the wok so that it can trickle down the bottom of the wok.
- Add white radish and mix well.
- Add 2 tsp oyster sauce, 2 tsp light soy sauce and ¼ tsp white pepper powder. Mix well and continue cooking for 3-5 minutes. White radish should look soft and translucent
- Taste test and make adjustments if necessary
- Remove filling from wok and let cool
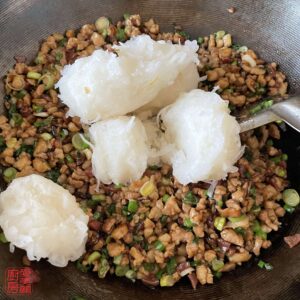
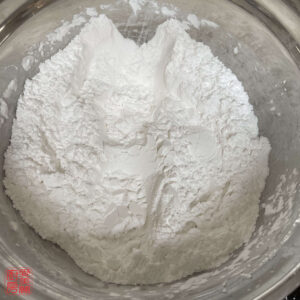
- Making the skin: combine 120g wheat starch, 120g tapioca starch, and 4g salt in a mixing bowl and mix well
- Boil 400g (400ml) or more water
the more water you boil, the easier it’ll be for it to maintain heat. I like to weigh the water so that the amounts are more precise. Using volume to measure can cause varying results due to inaccuracies with measuring cups - As soon as the water boils, add 400g (or 400ml) boiling water into the starch mixture and stir
the tricky part about this step is that the water needs to be very hot, close to boiling point, so that it can cook the starches. I generally put the mixing bowl on a scale so that I can measure how much water I’m adding. If you’re eyeballing it, you need to add enough water so that most of the starch becomes translucent in colour and the mixture is lumpy. I also use a clay pot to boil the water so that the water keeps hot longer than regular pots. I add water in 2-3 increments with a ladle for even mixing. If it’s runny (like uncooked slurry)or doesn’t change to a translucent colour, your water wasn’t hot enough and you’ll need to redo it…yikes! 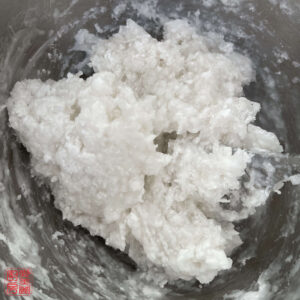
- Pour in 2 tsp oil and mix with a spoon or chopsticks
*The mixture is hot! Don’t use your hand to mix! The mixture will look lumpy and uneven 
- Cover with a lid or plate for 5 minutes. After 5 minutes, touch the dough. If it’s still too hot for your hands to work with, then cover for another few minutes.
But you shouldn’t wait for it to get too cool, it’ll be difficult to smooth out after it cools. - During your wait time, line a steamer with parchment paper with some small holes cut into it to let the steam through and set aside
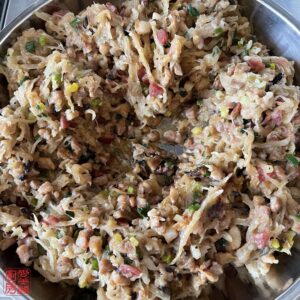
You can also use steamer paper that you can purchase at some Asian grocery stores - When the 5 minutes are up and the dough is cool enough to handle, add the 60g cornstarch onto the mixture. Use your hands to incorporate the cornstarch into the dough. When the cornstarch has been incorporated, transfer the dough onto a flat surface
Corn starch will help make the dough easy to work with 
- Knead the dough until it’s smooth. It should take approx. 2-3 minutes
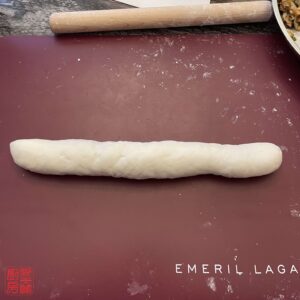
Dough should still be warm, soft, malleable and not sticky - Form into a ball and cut into 4 portions. Put the other 3 portions back in the covered bowl.
Your dough will be approx. 670g. I used 25g for each dumpling but you can make it into any size and shape you’d like - Roll the portion into a log shape and cut each piece to your desired size. Mine are 25g each
- Press each piece with the palm of your hand and sprinkle with some corn starch

- Roll each piece to your desired thickness and size with a rolling pin. Mine were approx. 9cm in diameter.
These dumplings are typically larger than regular dumplings with a thicker skin. If you’re new at wrapping dumplings, thicker is easier. Sprinkle with corn starch if the dough gets sticky 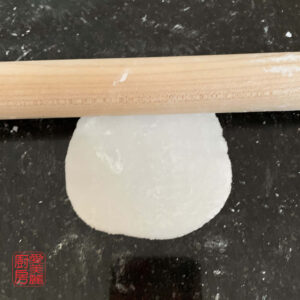
- If you are not a fast wrapper, I suggest you keep the rolled pieces under some plastic wrap to prevent them from drying out
- Place filling onto the wrapper
I used 25g of filling for each dumpling - You can wrap them using any style. I chose to make leaf-style pleats or you can just press the 2 sides together to make a semi-circular dumpling
- To make leaf-style pleats: fold the skin in the middle after you add the filling, pinch one of the ends together and then push forward to create equal pleats on both sides then press the pleats together. Repeat until you get to the end then pinch the end together to make a tapered point to resemble the pointy end of a leaf.
- Place the finished dumpling into the steamer and continue making the dumplings until completion. Dumplings should not touch each other when placed in the steamer

- Bring water to a boil in steamer and then steam on high heat for 10 minutes
- Dumplings may also be stored in the freezer after wrapping (but don’t steam them). Set them in the freezer without touching one another. Once they are frozen solid, they can be repackaged into a zipper bag and stored in the freezer for a couple of weeks without the skin cracking. Steam them from frozen state on high heat for 15 minutes.
Nutrition
Calories: 793kcalCarbohydrates: 83gProtein: 21gFat: 31gSaturated Fat: 10gPolyunsaturated Fat: 4gMonounsaturated Fat: 11gTrans Fat: 1gCholesterol: 76mgSodium: 1450mgPotassium: 709mgFiber: 4gSugar: 18gVitamin A: 93IUVitamin C: 46mgCalcium: 75mgIron: 2mg
Tried this recipe?Let us know how it was!